
Your internal doors play a subtle but vital role in your home’s interior decor. They can be used to complement or enhance your interior design concept, while also heightening the feeling of comfort and familiarity that you get from your living space.
However, the role of your interior doors goes beyond the practical. They also play an important role in keeping your living space warm in the winter and cool in the summer. They help to block out unwelcome noise from elsewhere in the home, and prevent children or pets from entering areas of the home where they could make a mess or even encounter hazards to their health.
Your internal doors are crucial in not only keeping your home looking great, but in keeping your household comfortable and safe. But what happens when they need to be replaced?
You may have already considered replacing an interior door but worried about logistics, costs and maintenance. Here, we’ll look at everything you need to know about replacing your internal doors so that you can make an informed and cost-effective decision on behalf of your home.
In order to decide whether it’s worth replacing an existing door, you’ll need to weigh the prospective benefits of a new door with the associated cost.
If you have an existing door that is worn or damaged, it may be beneficial to your energy efficiency, security and privacy to replace it. But these are by no means the only reasons to replace doors. You may want to replace an interior door with something that’s a better fit with your interior design concept, choosing a colour or style that’s more in keeping with the look you want. Or you may wish to swap out your existing door with a glazed equivalent that allows more natural light into your living space.
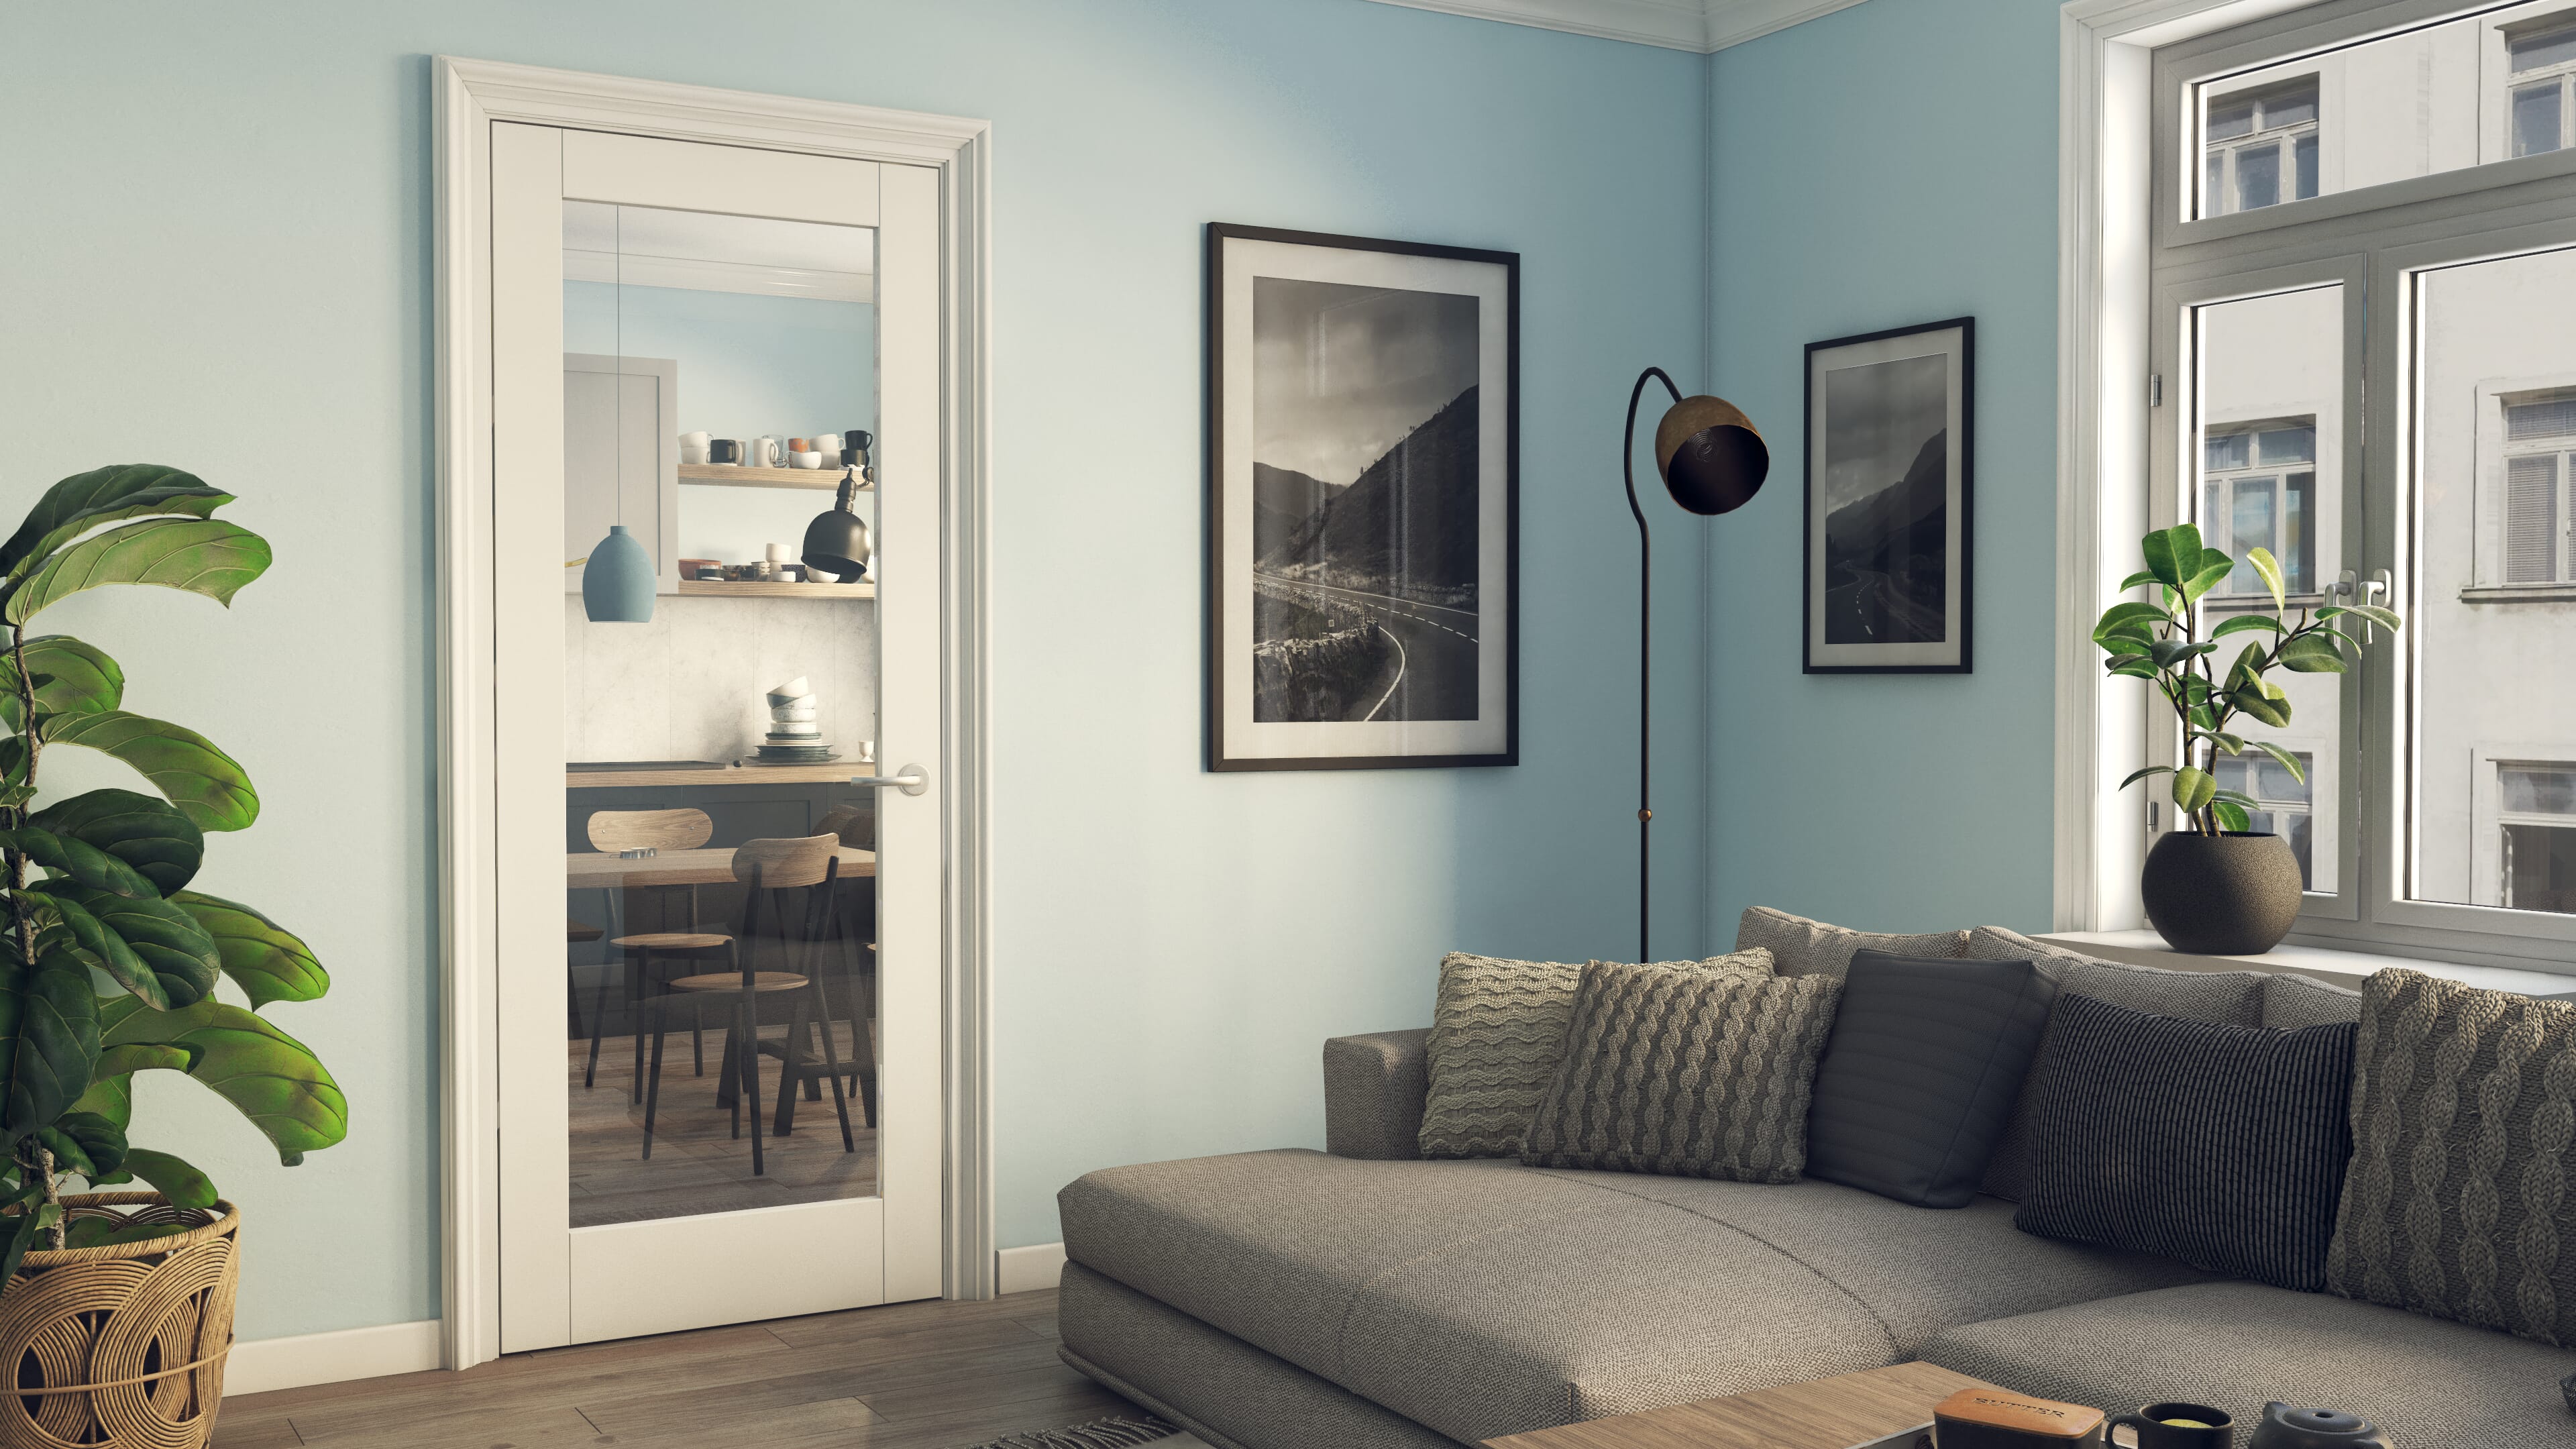
Glazed internal doors can help your home to feel airier and more spacious, using natural light to enhance the beauty of your interior decor. And if you’d like to preserve your privacy, there are a number of frosted options available.

We’re often asked “how long do internal doors last?”. The honest answer is that with proper care, your internal doors can last a lifetime. We stock a range of internal doors from the country’s most trusted manufacturers that are built with longevity in mind.
That said, there are some circumstances where it may be necessary to replace your internal doors. Let’s take a look at some of the most common signs.
There are some telltale signs that your internal doors are no longer fit for purpose or performing as they should. If you notice one or more of these issues, it may be time to install a new door:
Draughts: If you start to notice a sharp drop in temperature when you walk past your internal doors, this may be a sign of cracks that are leaking warmth out of your living space or gaps that are indicative of a poor fit in the door frames
Light leakage: If you start to notice slivers of light leaking through the door from the other side, this may also be due to gaps or cracks that are also allowing heat to escape from the room
Peeling / cracked paint: Aside from looking really unsightly, peeling or cracked paint may be a sign that the wood beneath has not been properly treated or was poorly maintained prior to painting
Difficulty opening and closing the door: This is the biggest indicator that a door needs to be replaced. If it is getting harder to open and close the door, this may point to wear and tear, poor installation, or a combination of both
Replacing a standard internal door may seem like a daunting prospect if you’ve never done it before. But rest assured, it’s easy when you know how. Let us guide you through the process with our step-by-step guide:
1.
We recommend leaving your new door to rest on a flat even surface to acclimatise. This will prevent any expansion or contraction that could later lead to tiny gaps or a poor fit between the door leaf and the door frame.
2.
The quickest and easiest way to remove the old door is by removing the pins that connect the hinges. These can be tapped out using a hammer and screwdriver. For safety reasons, it’s best to start at the bottom and work your way up. It’s also a good idea to have someone with you to take the weight of the door as the existing hinges come off.
3.
If the old door had a good fit within the existing frame, it’s best to use it as a template. Lay your existing door on top of the new one and use your pencil to mark the new one to ensure a good fit. Some additional sanding may be required for a completely snug fit but this will prove a useful guide.
If you’re reusing the door furniture from the old door, remove this carefully paying attention to its workings. This is also a great time to check the door opening and old door frame to see if they need any work.
Next, trim your new door to size using a circular saw or plane, being careful to sand down any rough patches on the door edge.

4.
Next, mark the hinge placement on your new door, using the positioning of the hinges on the old door as a guide. Measure the distance from the edge of each door to the edge of each hinge to ensure proper hinge placement.
Next, draw around the hinge with your pencil and score the pencil markings with a Stanley knife before chiselling off enough to comfortably accommodate the hinges. Tap gently into place with your hammer.
With the hinge pins removed, screw one hinge leaf into the door frame while screwing the other into place in the door leaf.
5.
Finally, you need to install the lockset/door handle. Start by lining up your new door leaf with the existing latch plate on the door jamb. Use this to mark the position of your new knob or handle on the door. The procedure may vary here depending on which hardware you’re using.
In most cases, however, a 2 inch hole is drilled through the front of the door to accommodate the door handle, and another through the edge to accommodate the latch. Using a 25mm spade bit will usually provide a big enough hole to accommodate the hardware.
For best results, and a less stressful installation, mark the positions where the screws will go and use a 2mm drill bit to make pilot holes for the spindle and the door latch.
Once this is done, all that remains is to chisel out a niche for the latch plate in the same way you did for the hinges. Tap gently with a hammer to secure before screwing into place.
Now your door is ready to be primed, painted or varnished, and hung.
You may be pleasantly surprised by how little it costs to replace an interior door. In fact, we offer flush internal doors (including white primed internal doors) from just £46.27 each. For an overview of what you can expect to pay for the style and size of door you’re looking for, take a look at our internal doors page.
However, it’s important to remember to factor in the cost of your hardware (handles and hinges) as well as any varnish, primer or paint you’ll need if buying an unfinished internal door. Rest assured that we strive to deliver the best possible prices on doors and hardware, undercutting the RRP significantly.

Proud stockists of....
